How to Felt Warm House Slippers?
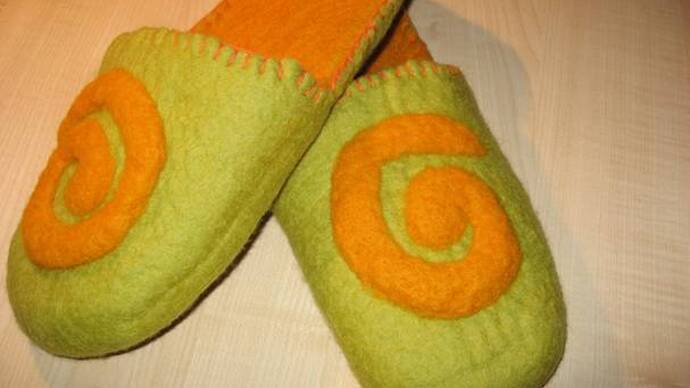
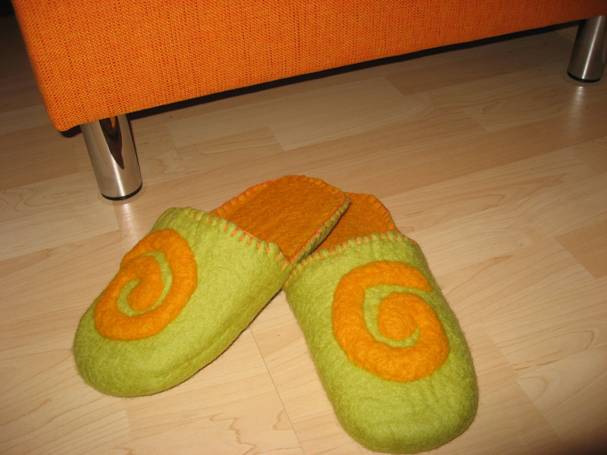
This time I will tell and show how you can make finished felted wool slippers with your own hands. In my opinion, such slippers are great both for shuffling around the house yourself and as a gift - for grandma at Easter, for example.
This time I will tell and show how you can make finished felted wool slippers with your own hands. In my opinion, such slippers are great both for shuffling around the house yourself and as a gift - for grandma at Easter, for example.
Required:
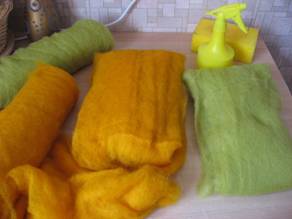
- wool roving (in orange and green);
- felting needle;
- polyester mat;
- scissors and craft knife;
- marker;
- spray bottle;
- "Kastanis" washing liquid or bar soap;
- bubble wrap;
- small towel;
- rubber gloves.
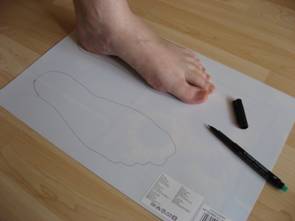
Step 1.
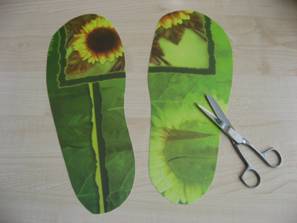
On the mat, use a marker to trace the foot of the person you are felting the slippers for. This time, as you can guess, Ēriks was the guinea pig.
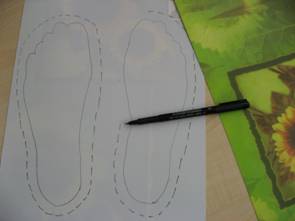
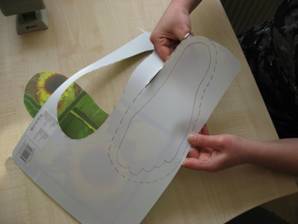
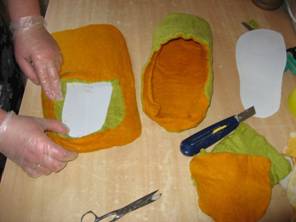
Step 2.
Cut out the slipper sole shapes, adding a seam allowance to the traced foot silhouette - i.e. plus 1–2 cm. During wet felting, the item being made shrinks at least 2–3 times.
Step 3.
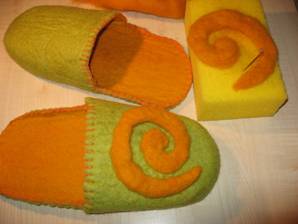
Wrap the shapes with wool roving - once horizontally and then vertically. If felting slippers in two colours this time, the colour you want to see on the outside later should go on the inside first. So first I wound the green roving, then the orange. Then I very lightly secured all the placed layers with the felting needle.

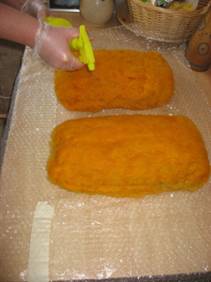
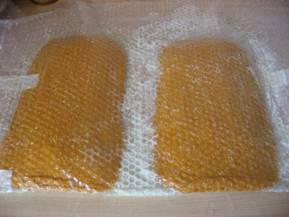
Step 4.
Prepare warm water with "Kastanis" washing liquid in the spray bottle. Place both wrapped pieces on bubble wrap. It is important to thoroughly moisten the wraps so the liquid seeps through at least several layers.
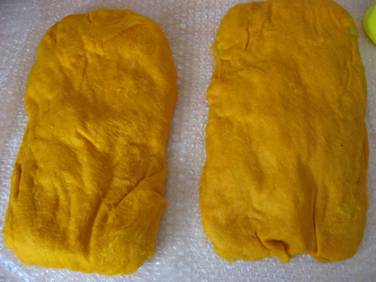
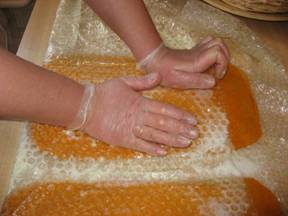
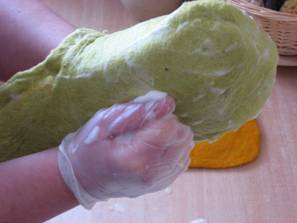
Step 5.
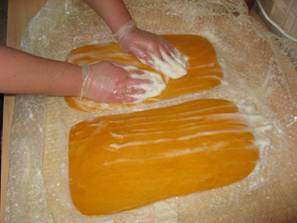
The longest and hardest stage follows - rubbing the wool roving with your hands for at least 2 hours without stopping. To avoid getting blisters, I recommend using rubber gloves.
From time to time the felting bundle must be turned over and felting/rubbing continued. When the wool has become firmer, the plastic wrap can be removed and rolling continued by hand. How do you know when felting can stop and move to the next stage? 1) the surface is firm, stiff and completely smooth; 2) time - at least 2 hours of working have passed;
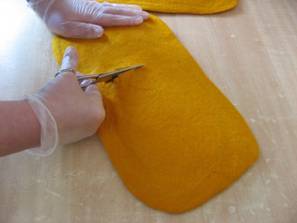
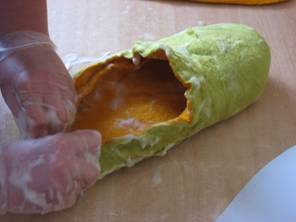
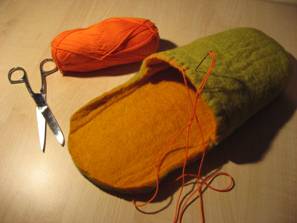
Step 6.
Measure and cut the heel section of the slipper.
Then turn the felted piece inside out and carefully smooth all the corners, shaping the slippers as desired.

Continue rubbing for at least another hour, achieving smoothness and firmness on the other side as well.
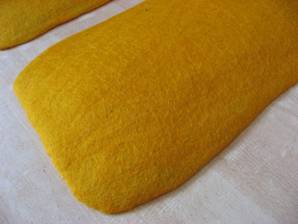
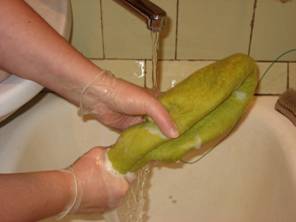
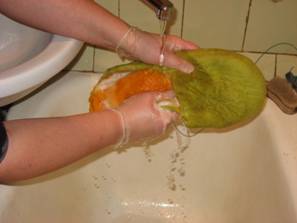
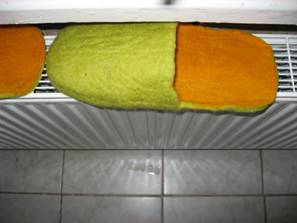
Step 7.
When the felted piece is sufficiently firm and can no longer change shape - only shrink a little more - rinsing follows. First rinse in warm water, thoroughly squeezing out all traces of soapy water. Then fix the shape of the felted piece in cold water.
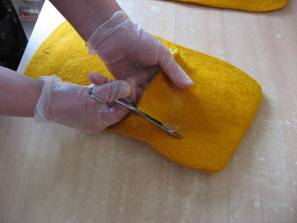
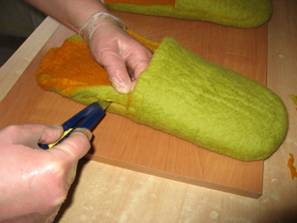
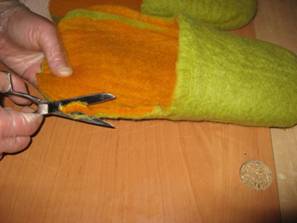
Step 8.
While still damp but thoroughly squeezed out, trim the slipper to even out uneven edges and remove excess material at the heel. Of course, there are other possible slipper styles where deeper edges should be preserved.
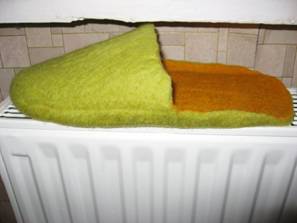
Step 9.
Leave to dry for about 2–3 days.
Step 10.
The final stage is decorating the slippers - the most enjoyable, most creative and least tiring process. Here dry felting can be used, for example creating flowers, little leaves, bobbles or other decorations with the felting needle. To extend the life of the slippers, it is advisable to sew leather onto the soles.

Really impressive! well done! I will tweet this page.
How much wool (oz) would you use for a large size 13 pair of mens slippers?