
A Homemade Lamp in the Papier-Mâché Technique
On the morning of the second of January I woke up with an inspired determination to realise the idea of a homemade ceiling lamp using the papier-mâché technique. It took two and a half weeks for the intended light fixture to take shape from small pieces of old newspaper, glue and paint. I am happy to explain how to make one by hand.
On the morning of the second of January I woke up with an inspired determination to realise the idea of a homemade ceiling lamp using the papier-mâché technique. Well, it is now the 20th of January, and the lamp is hanging in the living room. It took two and a half weeks for the intended light fixture to take shape from small pieces of old newspaper, glue and paint.
I am happy to explain how to make one by hand.
You will need:
- a pile of old newspapers;
- approximately 750 ml of PVA glue (at DEPO DIY);
- a brush;
- cling film;
- acrylic paint - white, dark brown and gold (3.17 EUR/piece, purchased at "M6 Materiāli māksliniekiem" at Tērbatas 33/35, Riga);
- LED bulb 15W, 3000K (4.59 EUR/piece at DEPO DIY);
- white hanging lamp cord (1.66 EUR/piece at DEPO DIY).
Making process:
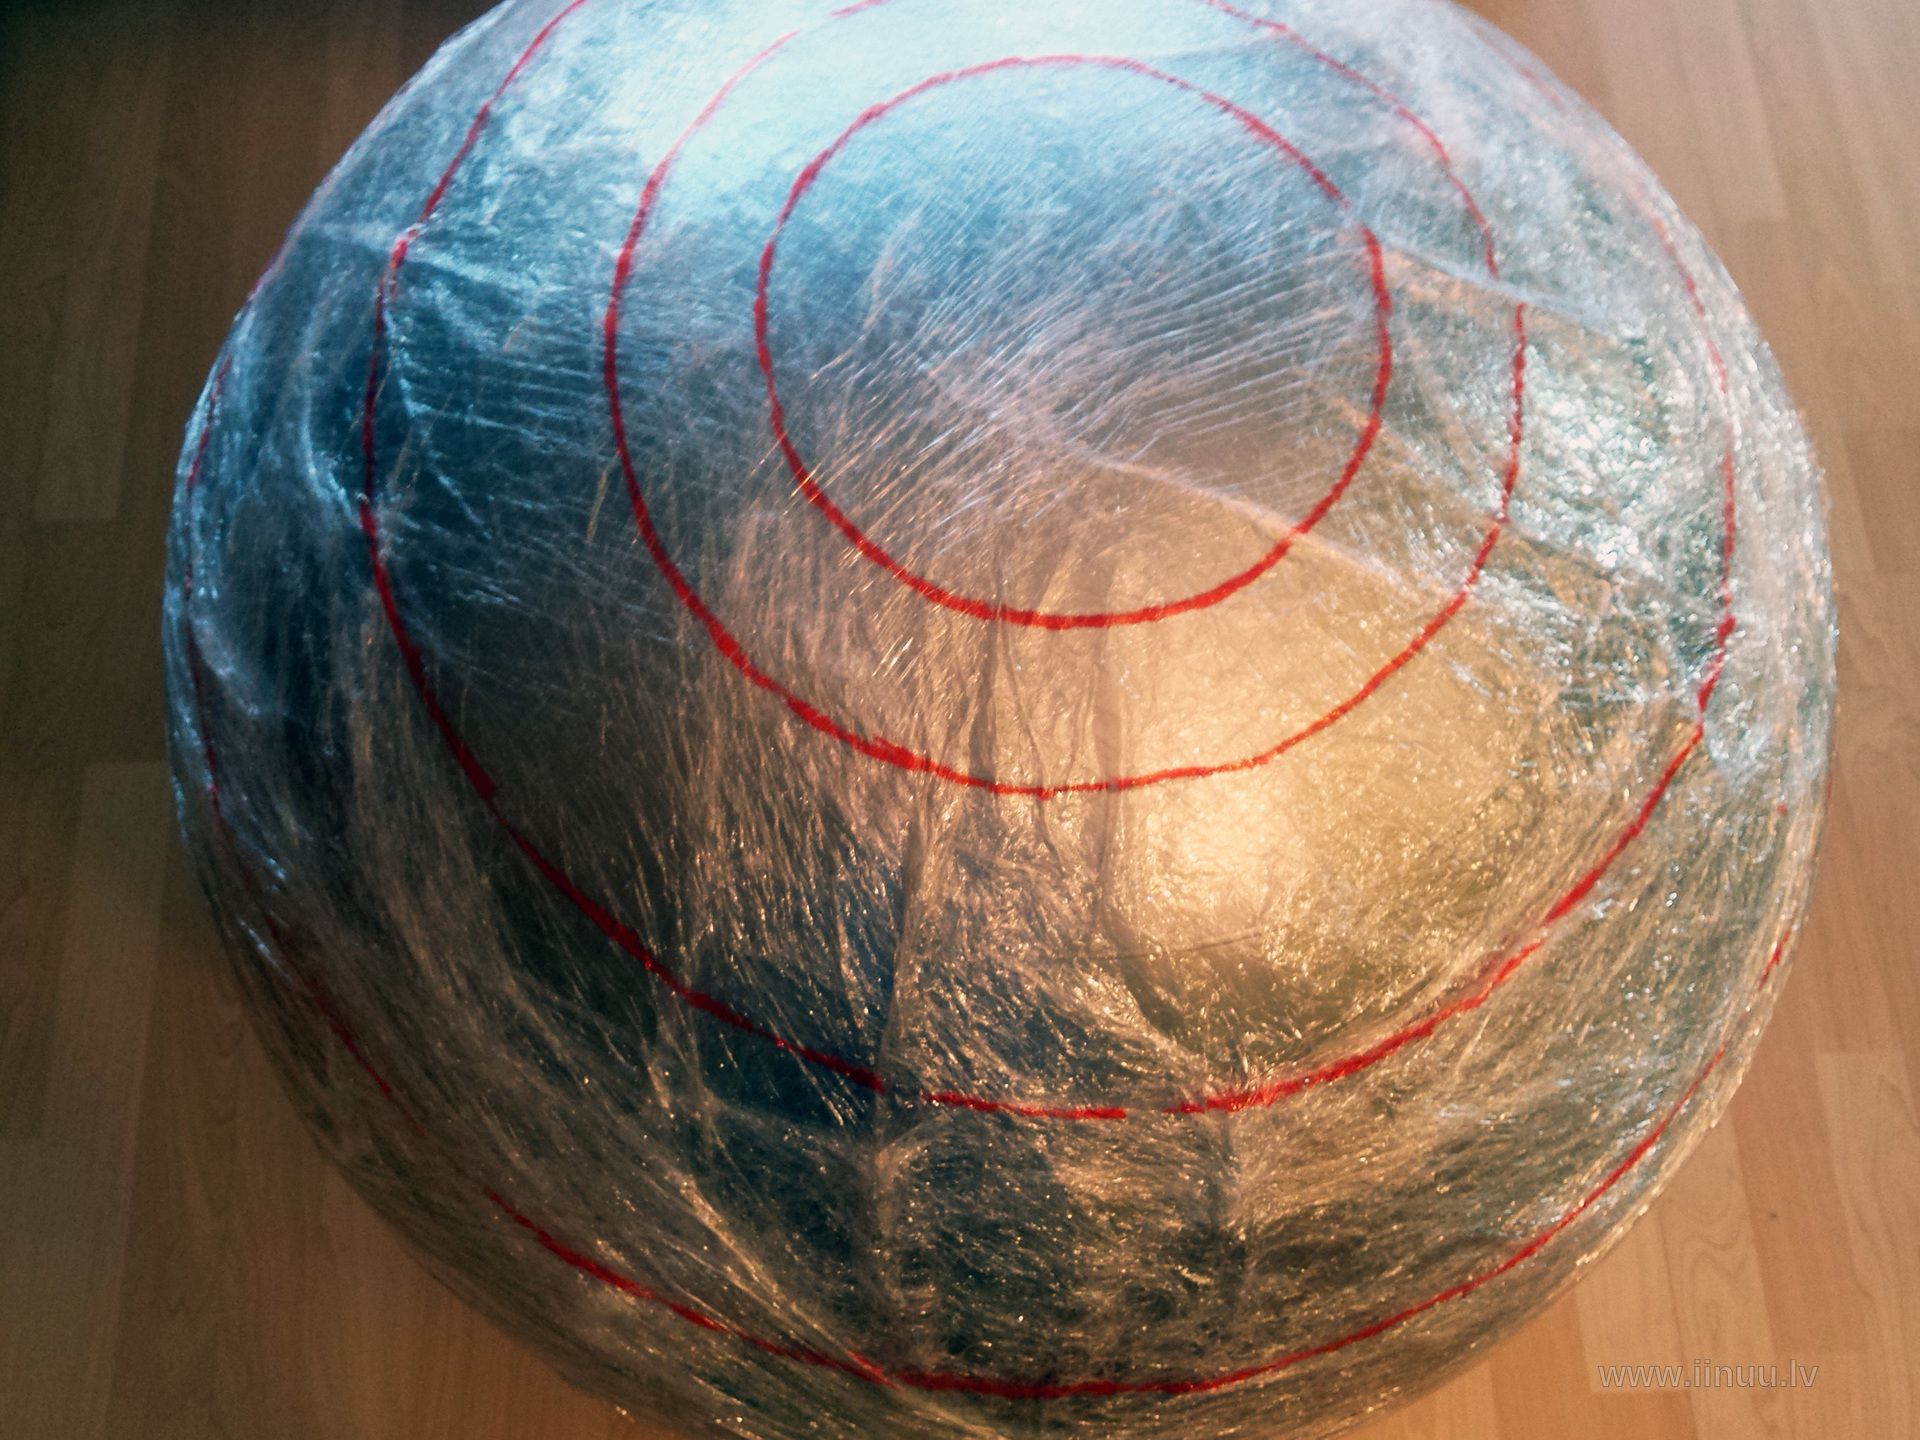
I wrapped an exercise ball in cling film. You can choose a different object - for example a rounded bowl or a balloon - depending on how large a lamp shade you want to make.
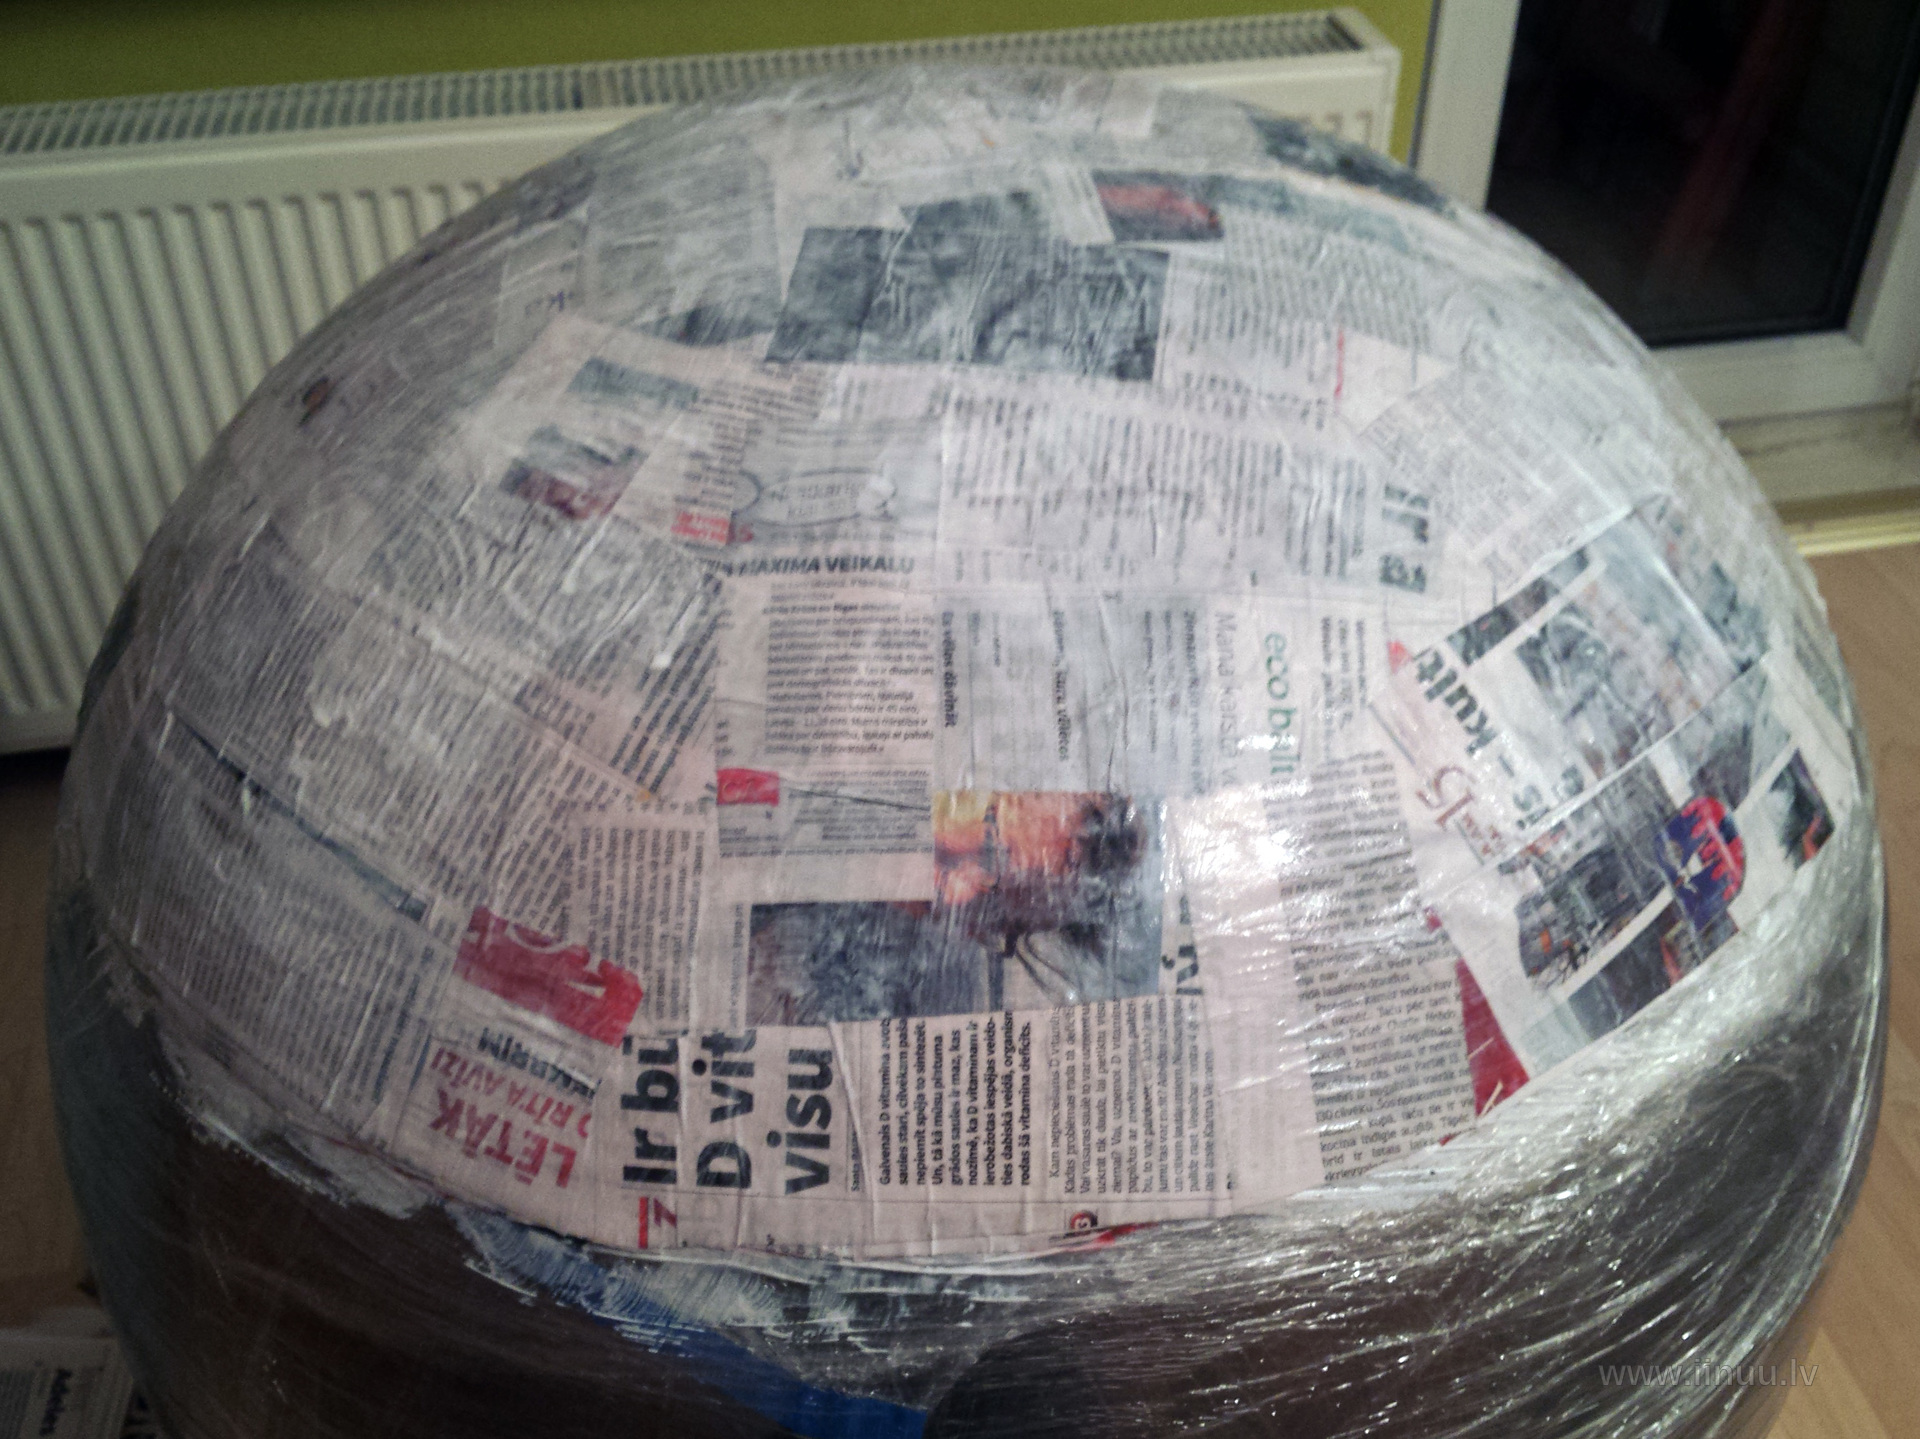
I marked the planned size of the lamp shade with a marker. An exercise ball is convenient because it has visible lines on it. Then I began applying glue and newspaper strips. First forming the framework, then alternately sticking on smaller pieces of newspaper - around ten or so layers. This definitely cannot be done in one go, but rather over two or three days, allowing it to dry between sessions.
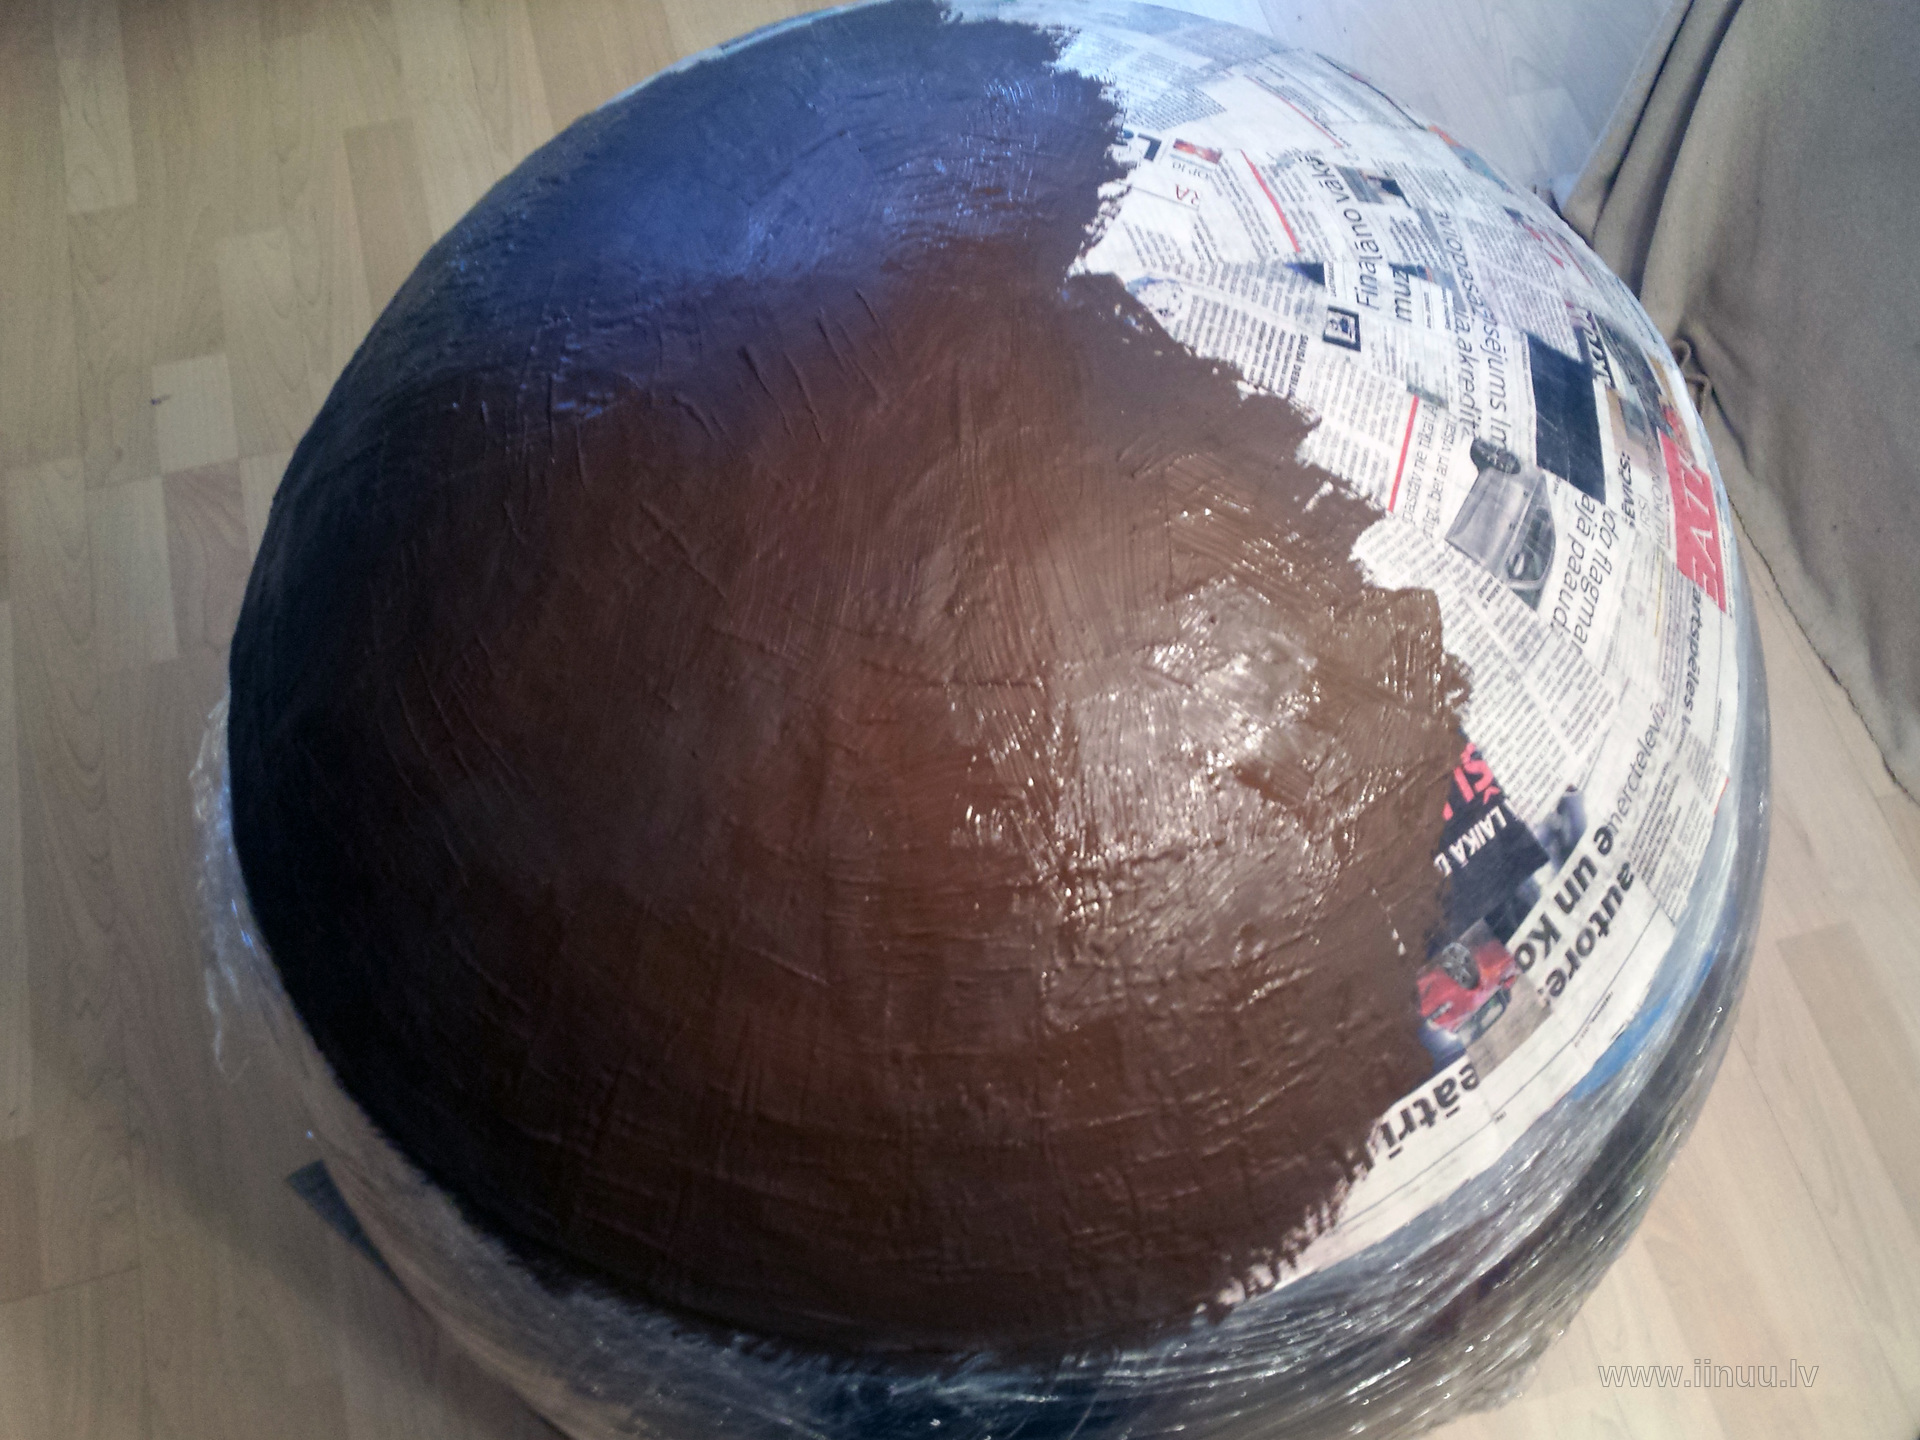
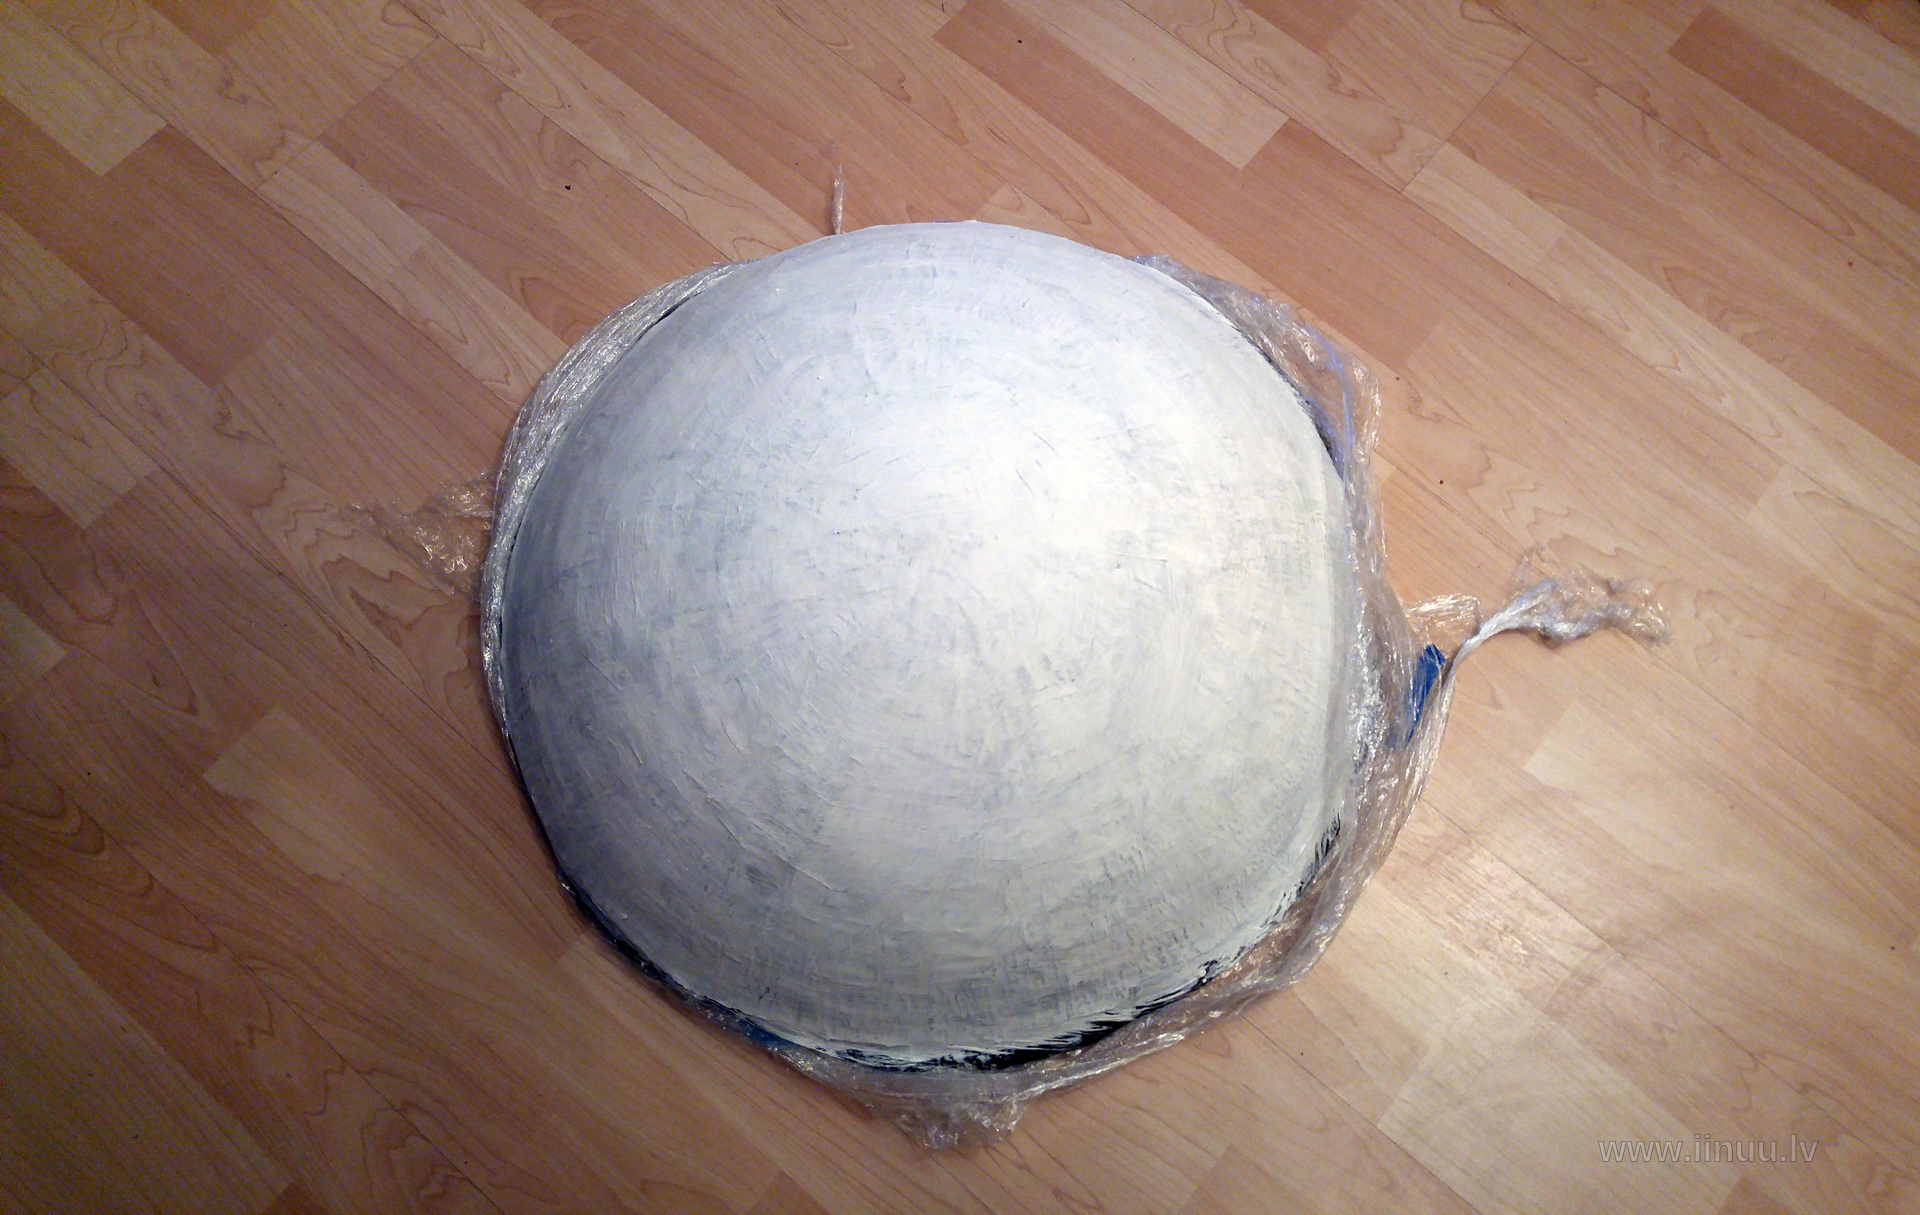
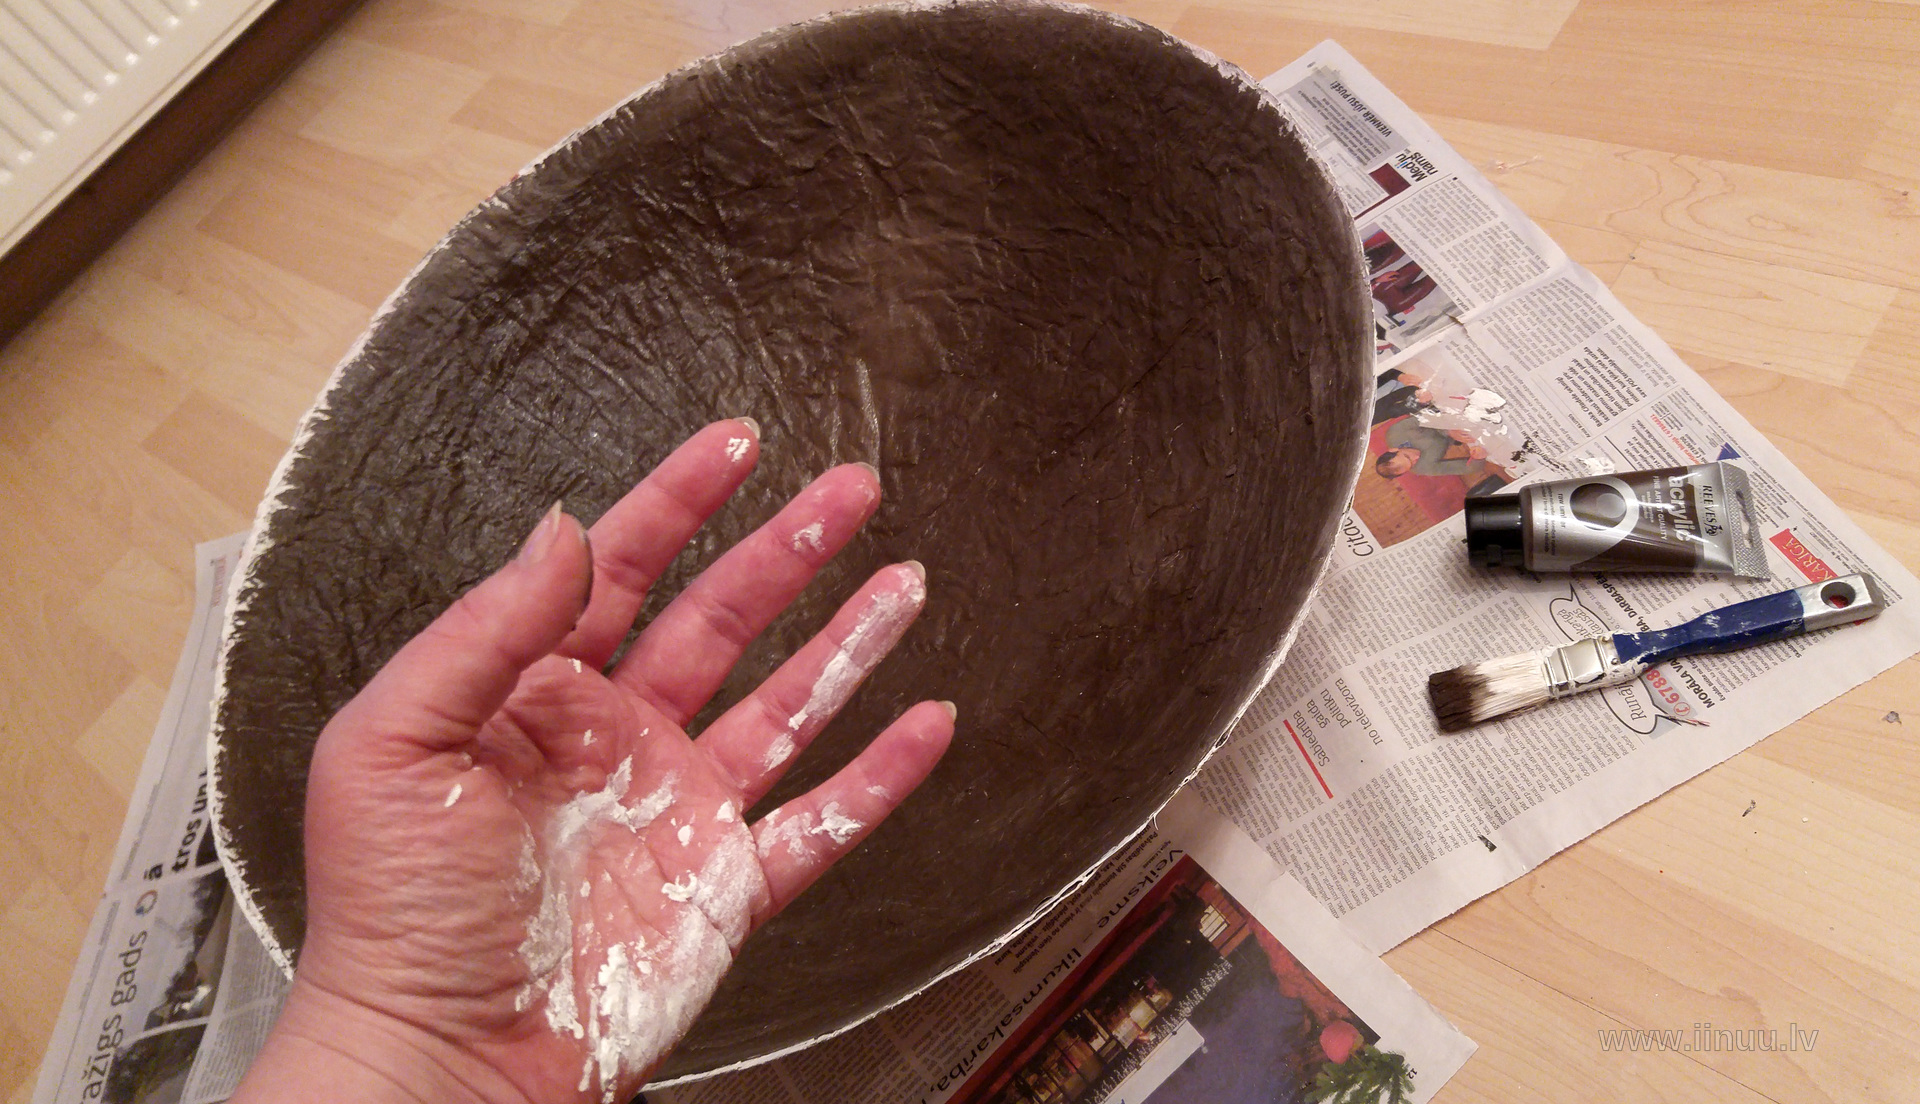
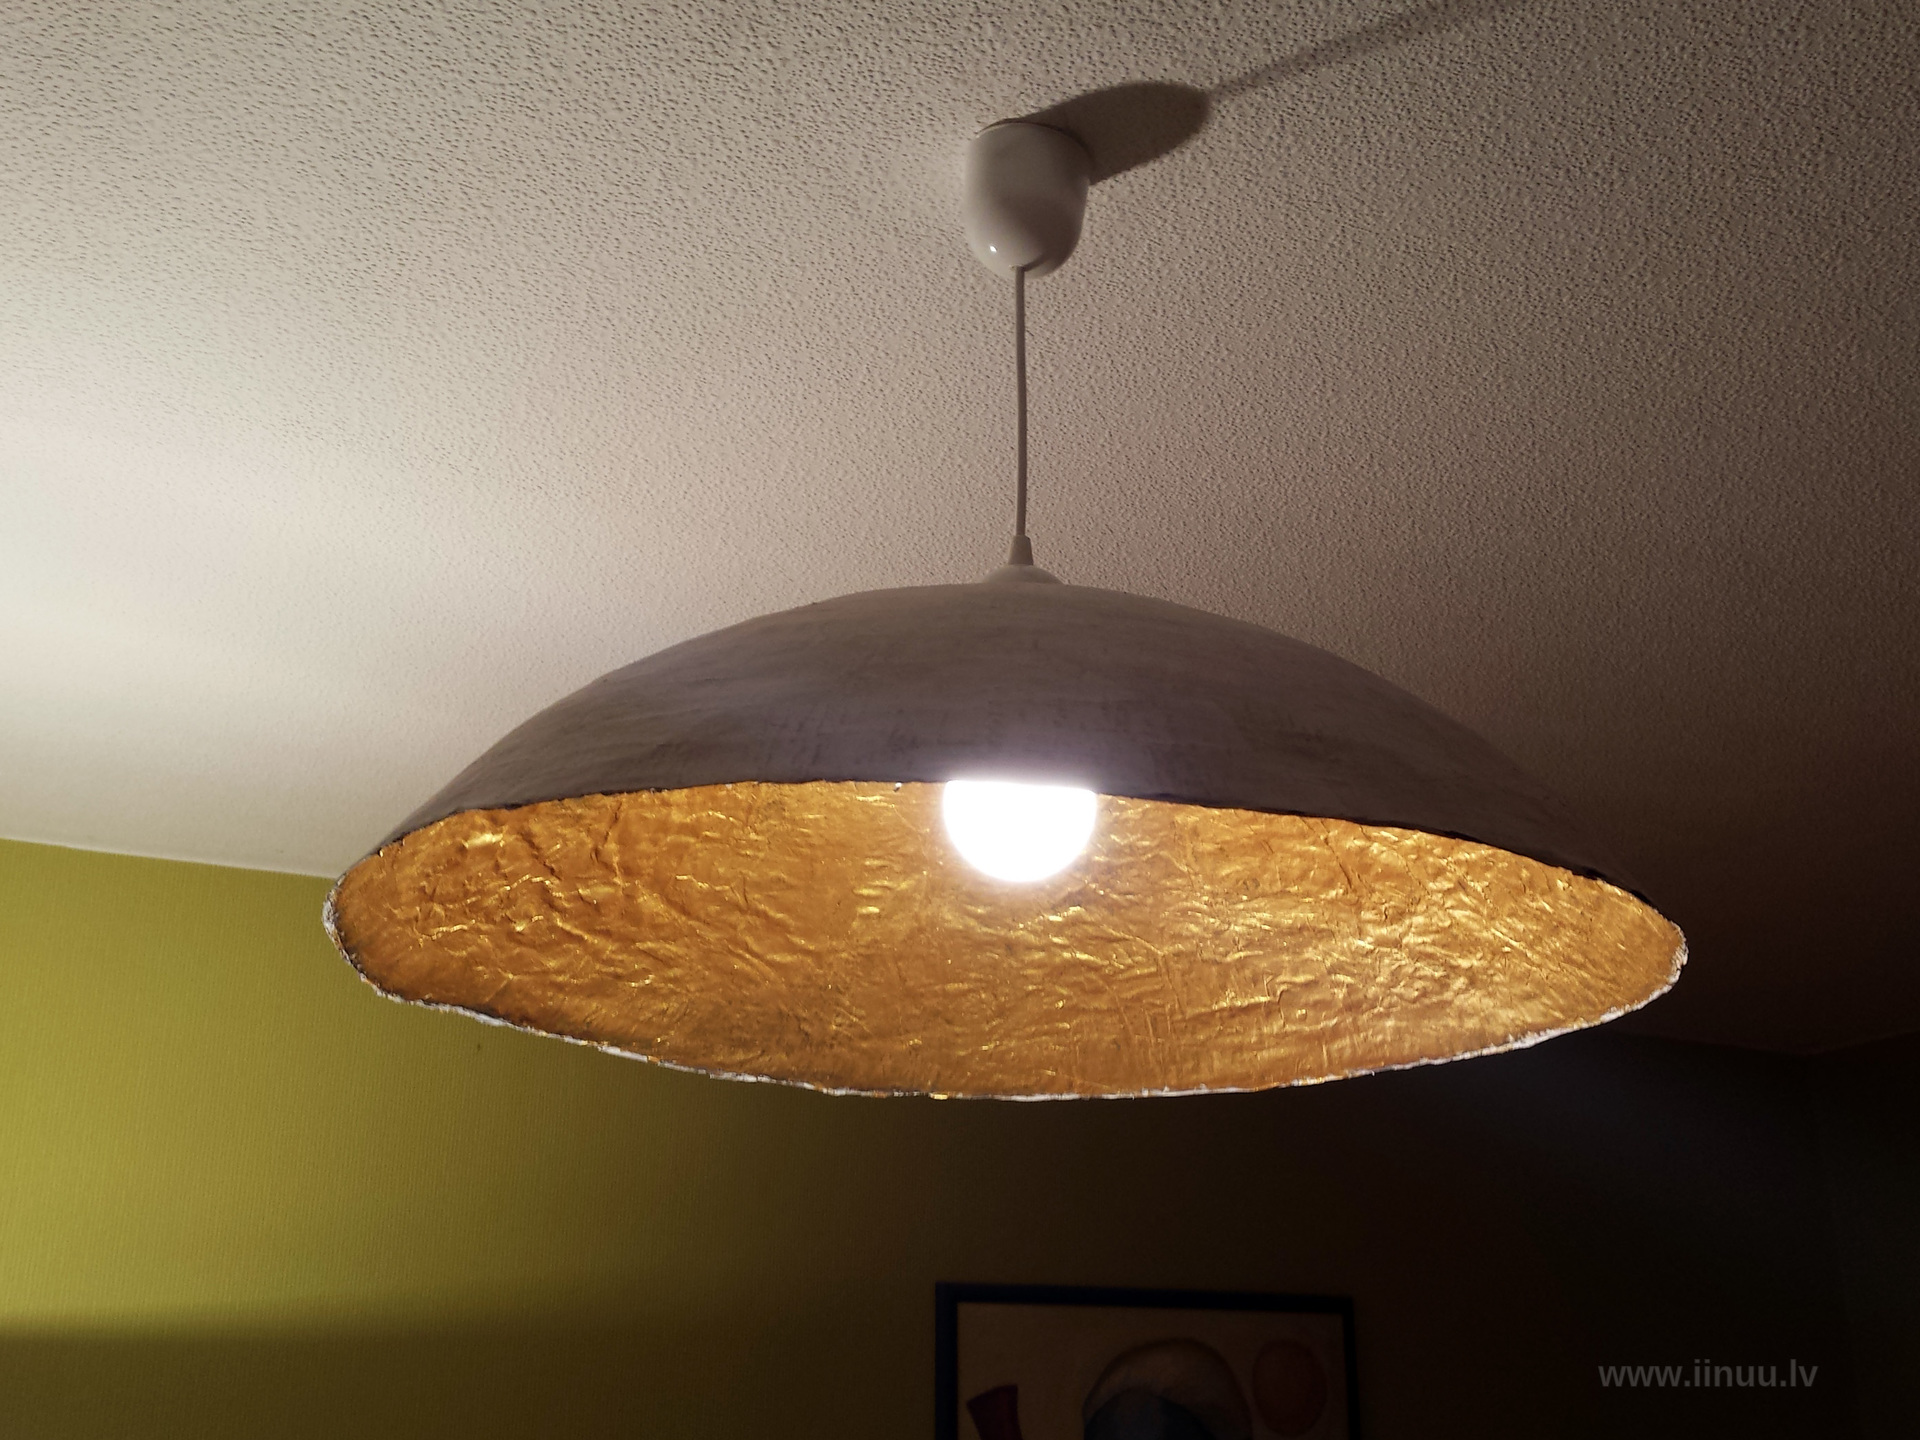
Once the newspaper framework had hardened, I primed it with dark brown paint. I let it dry for another day. This was followed by covering with white paint, twice, again leaving it overnight to dry between coats.
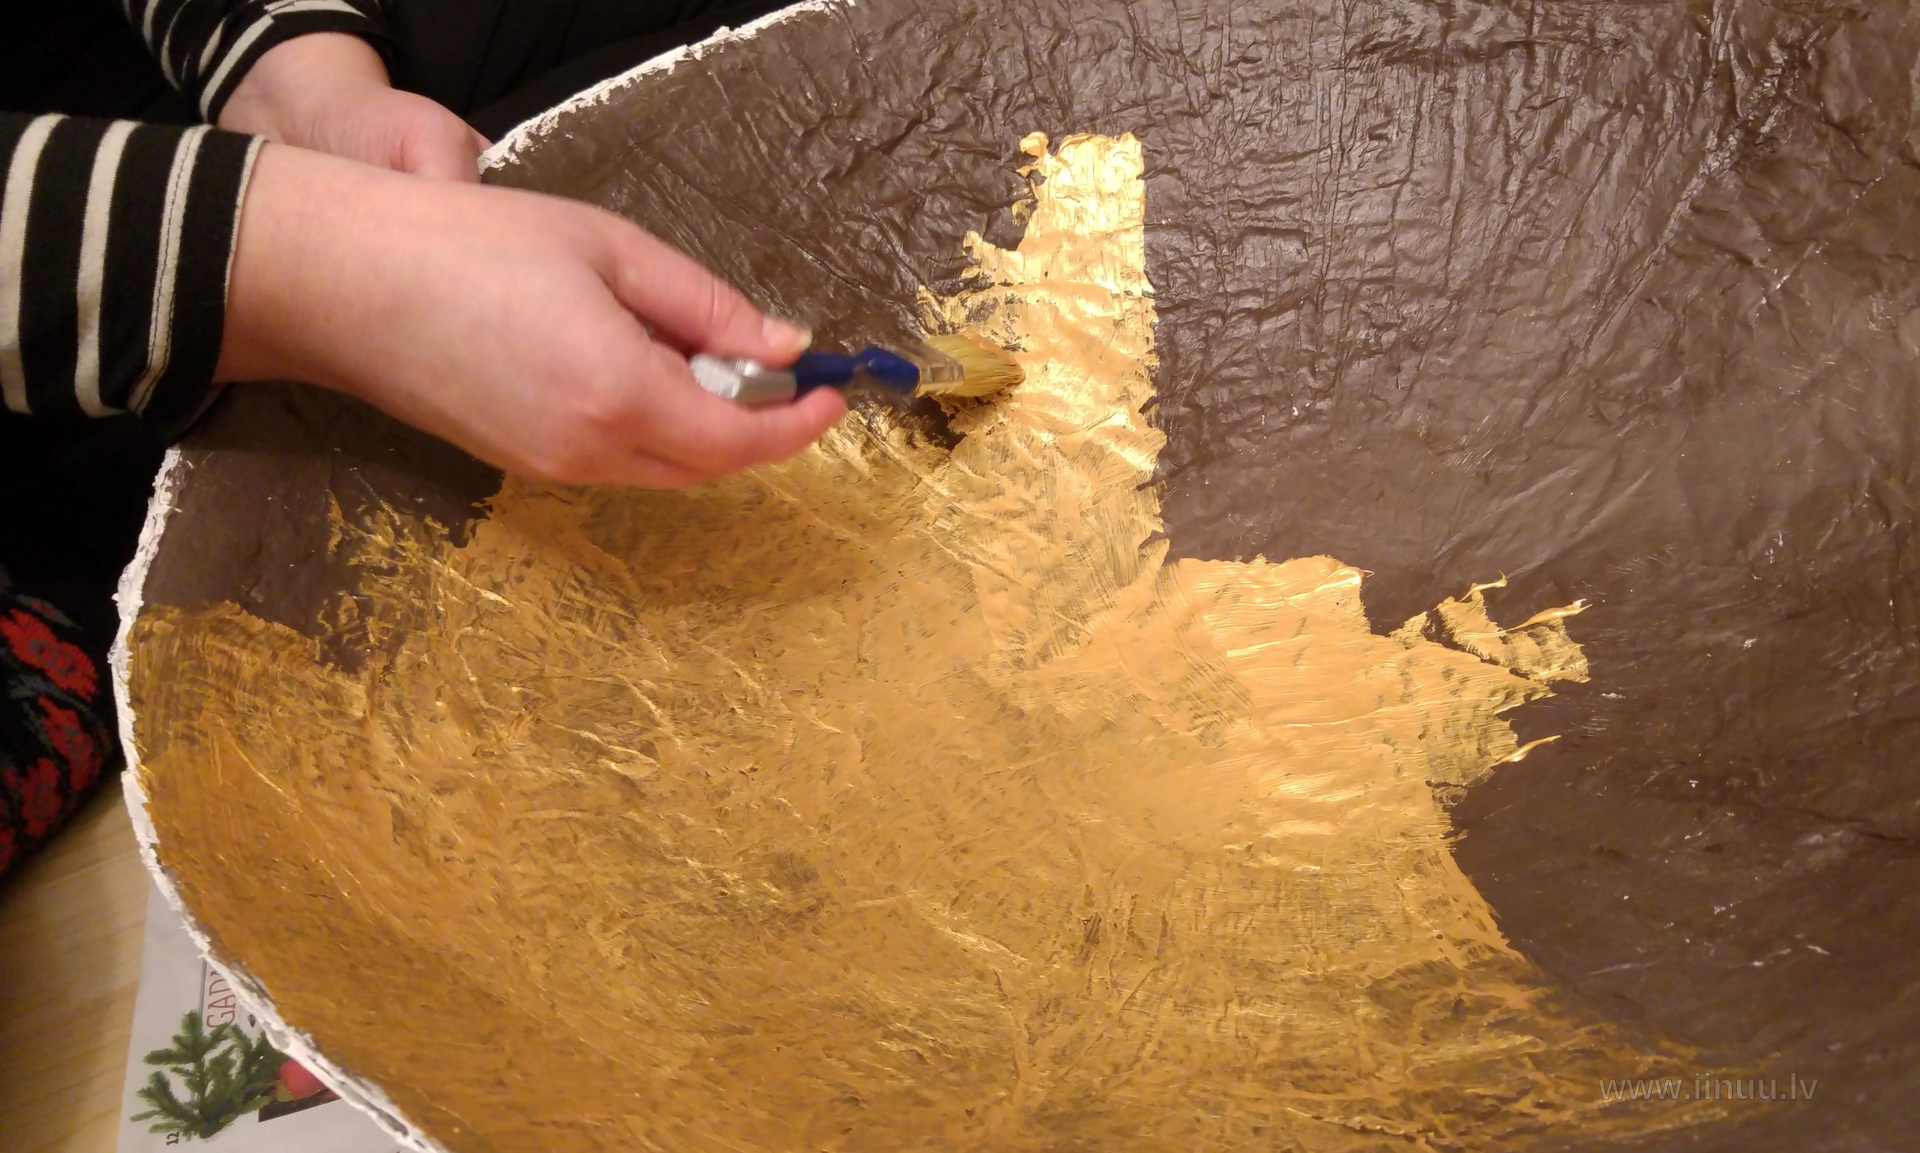
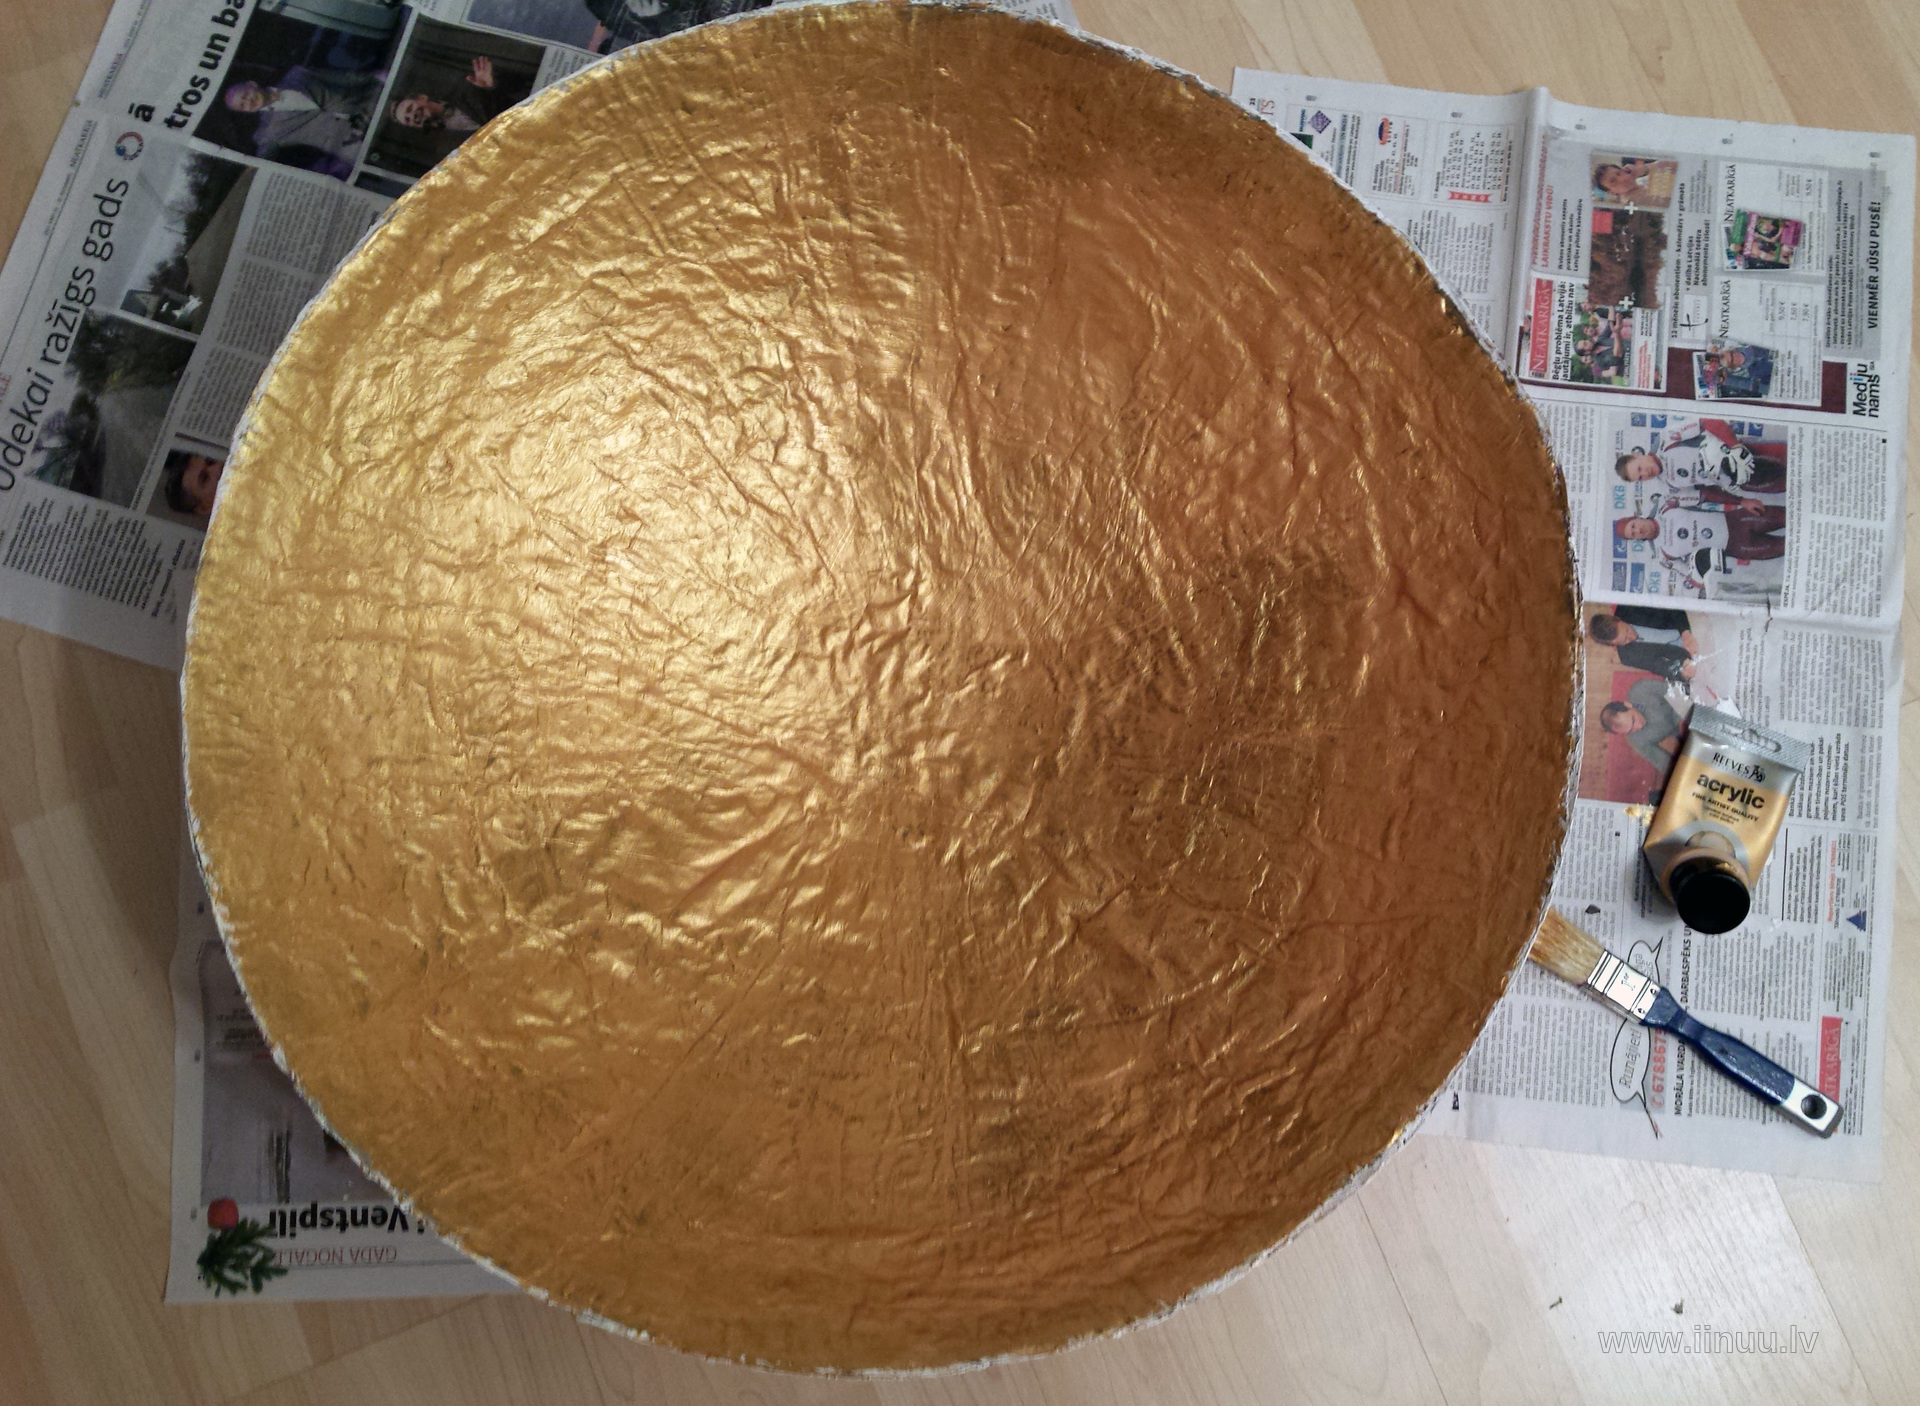
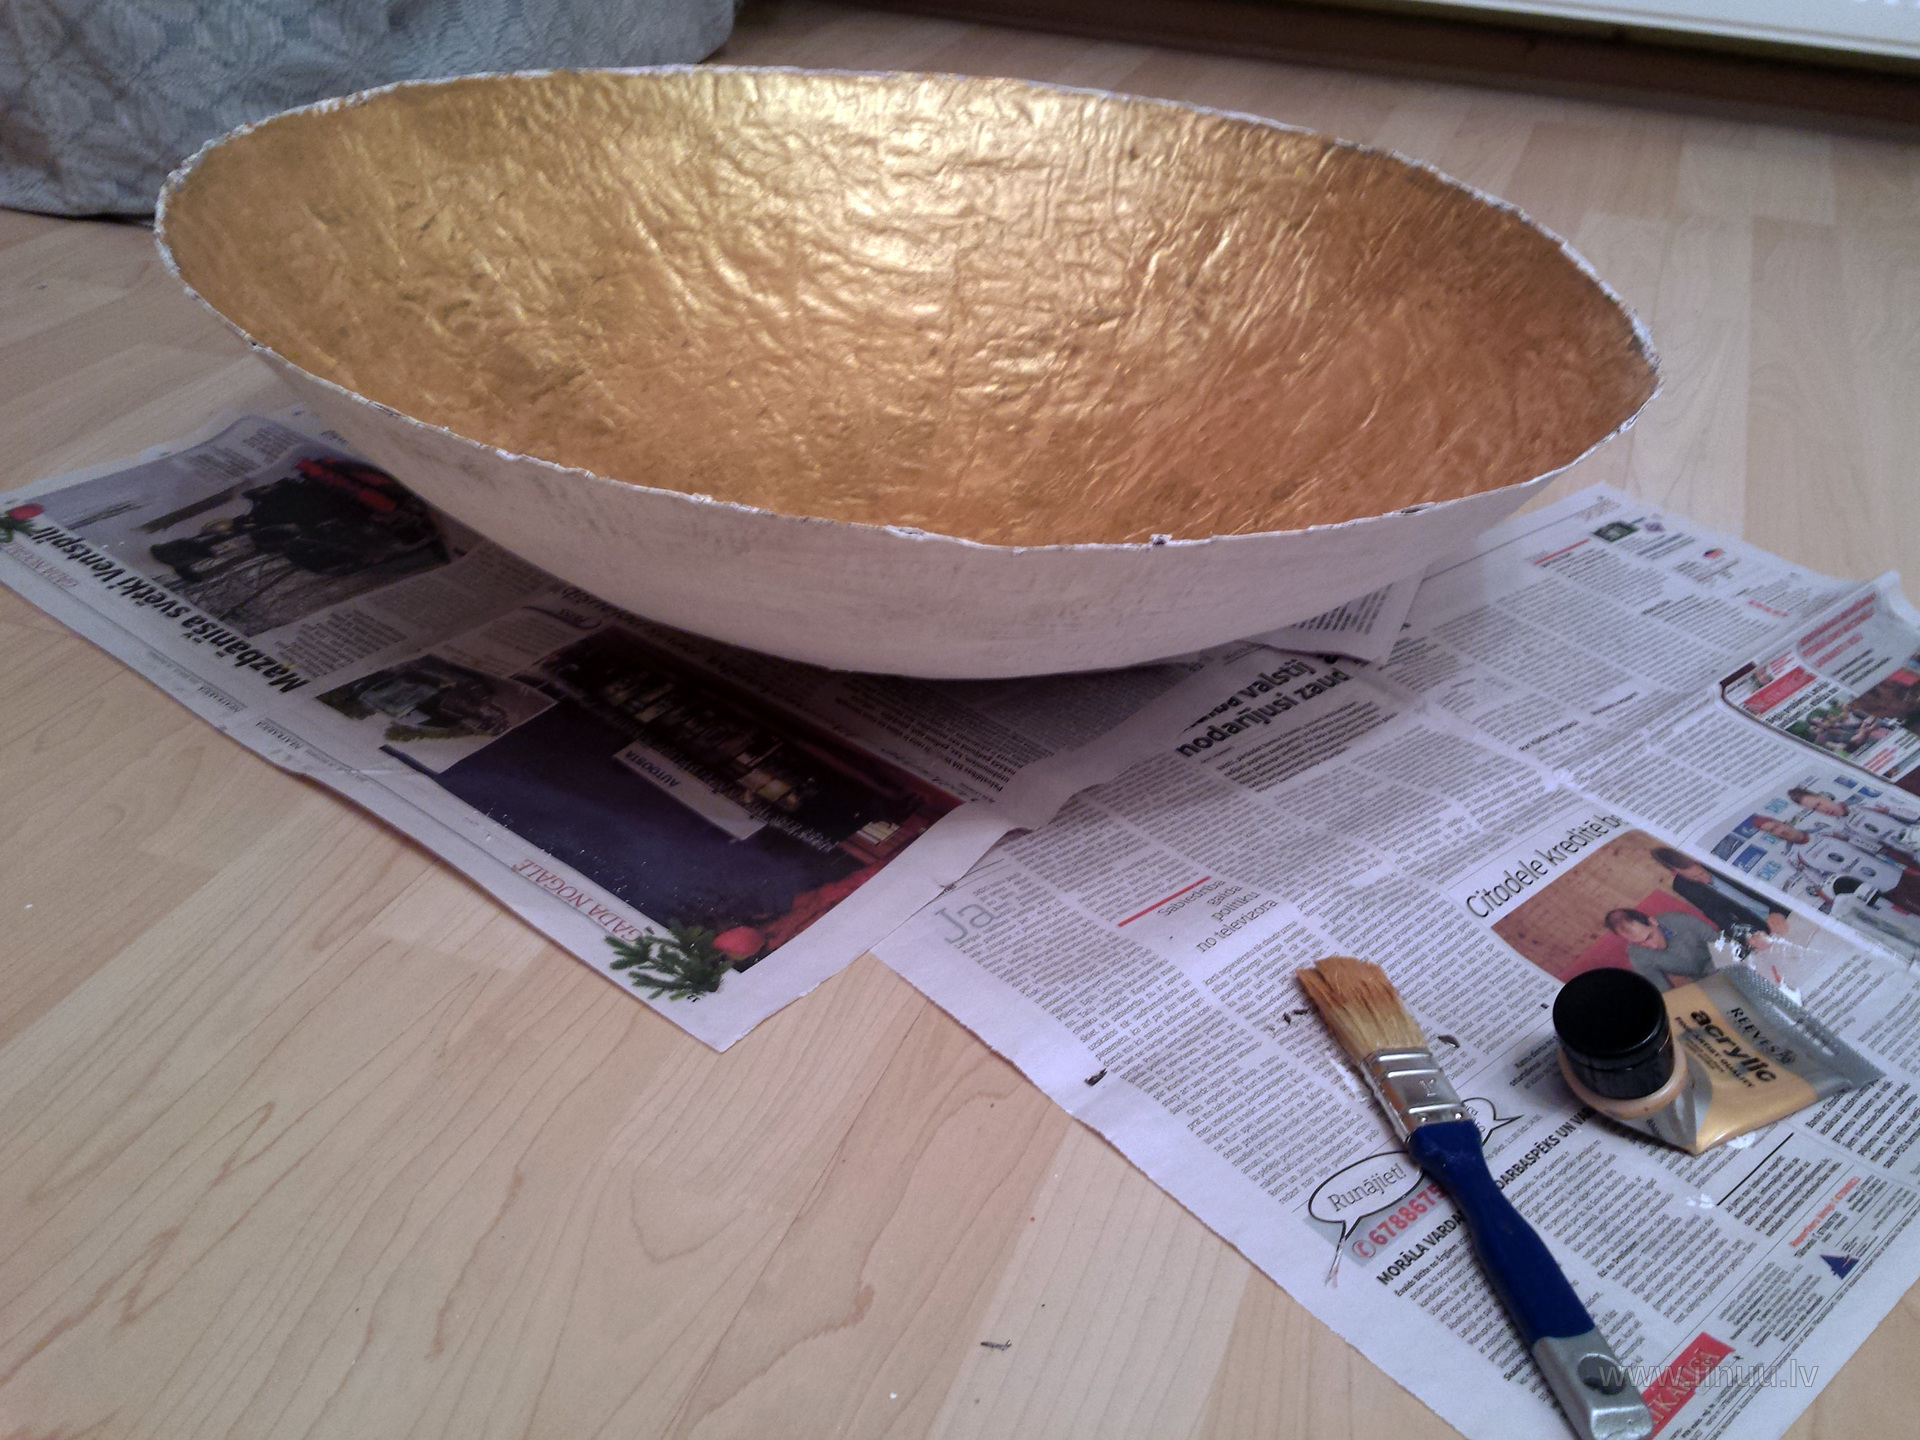
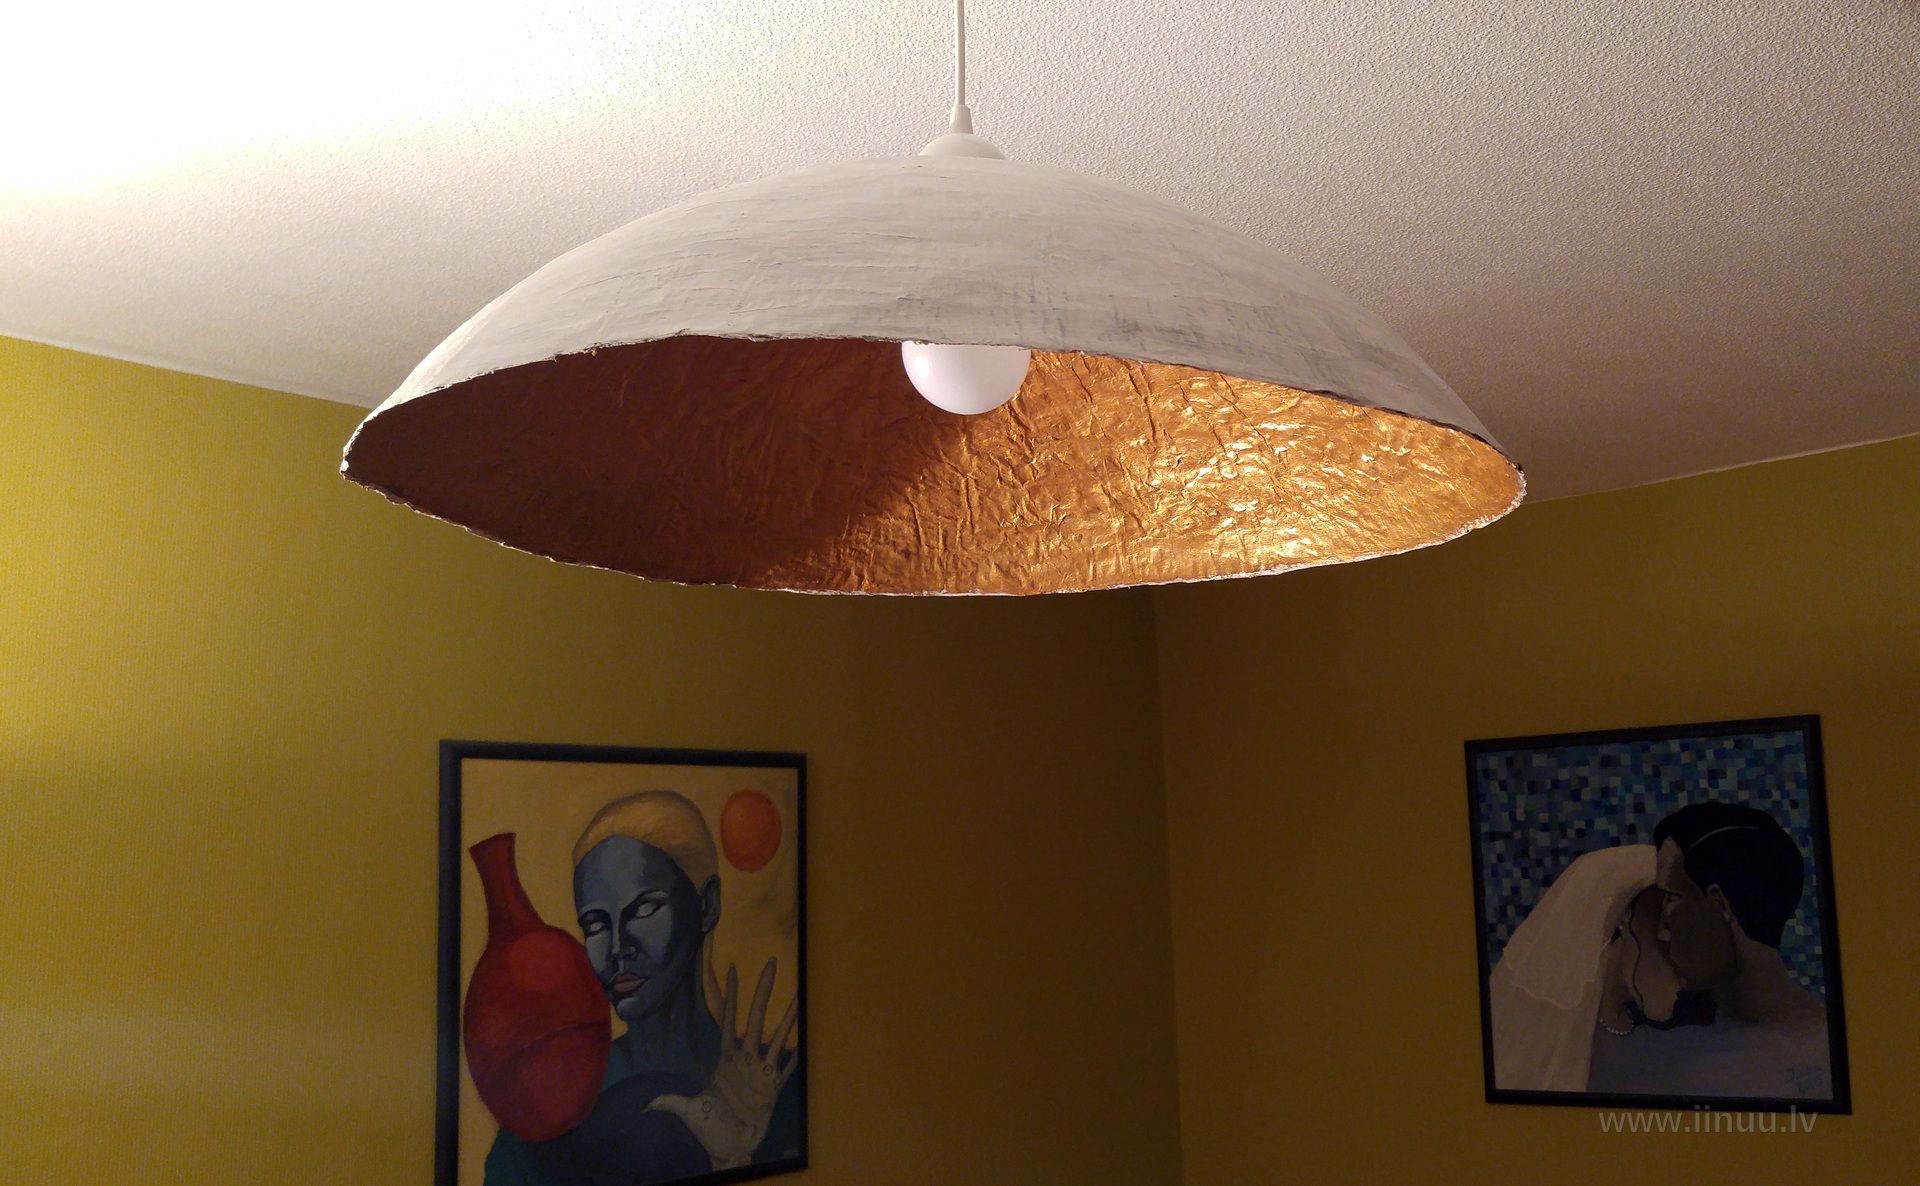
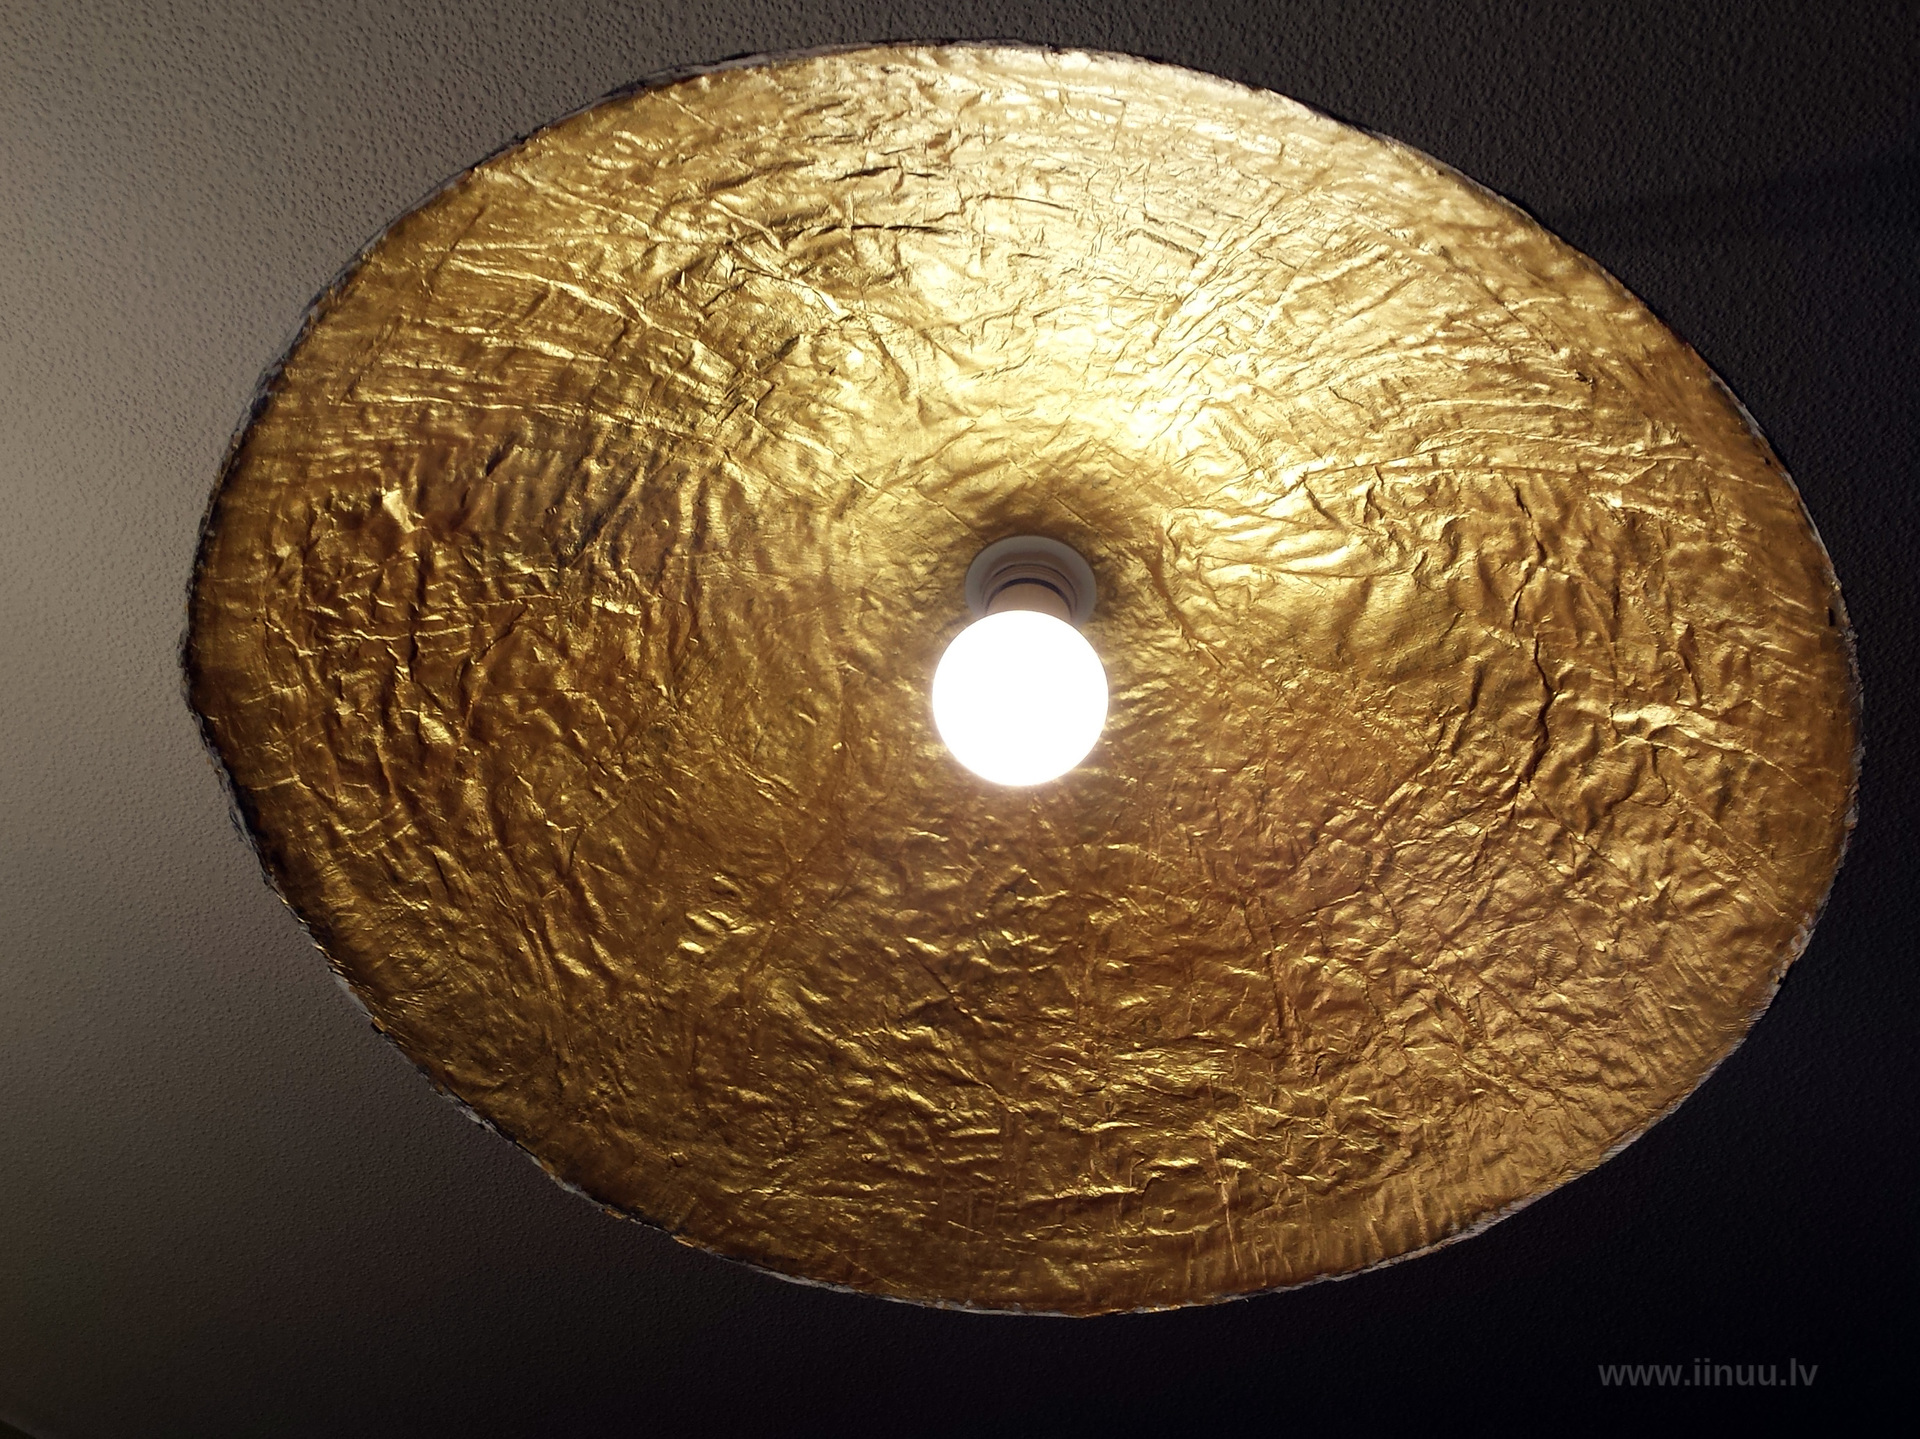
Finally I removed the shade from the ball and freed it from the cling film. I primed the inside of the shade with dark brown paint. After a day I covered it with gold paint - chosen to be as light-reflective as possible.
The process of drilling and cutting the hole followed, which I left to male hands at that point. The cord with the socket was attached, hung from the ceiling, a bulb screwed in. And tadaaa - let there be light!
comments